

In this lab, we will be installing MySQL on Ubuntu.
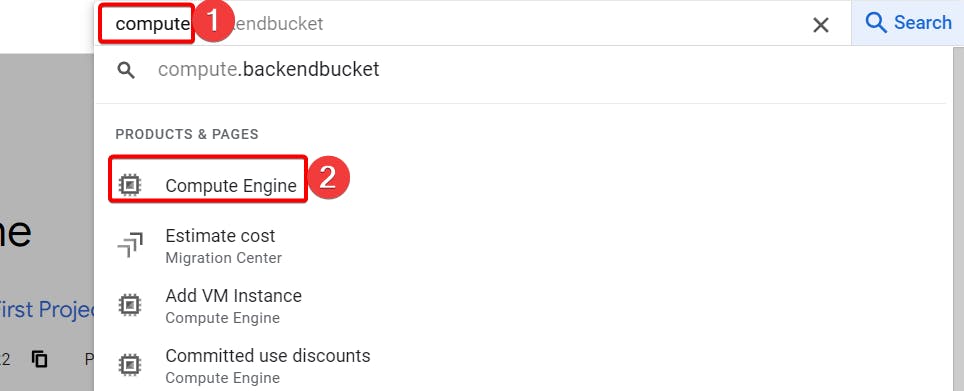
Step 1:- Write compute and click on compute engine.
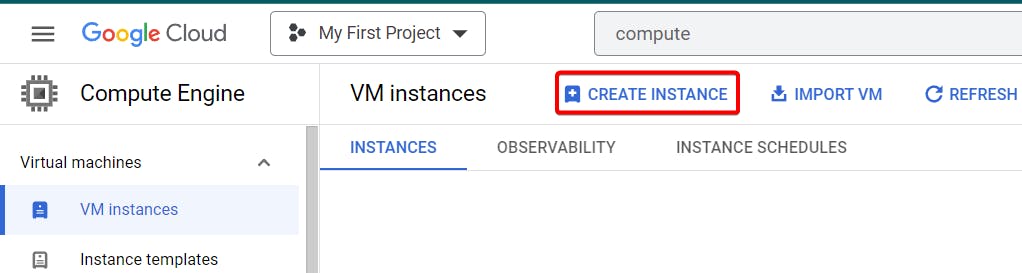
Step 2:- Click on create instance.
Step 3 :- Name your instance, Give region and zone, Finally choose the appropriate machine type.

Step 4 :- Under Boot disk click change to choose Ubuntu os.


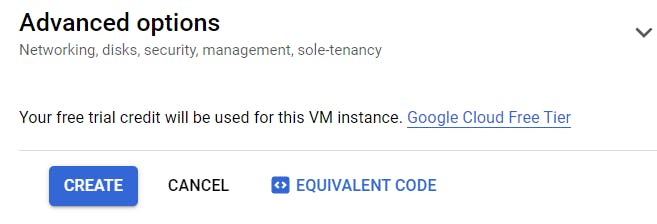
Step 5:- Click on create.
Your instance will be created, Now click on your instance SSH.
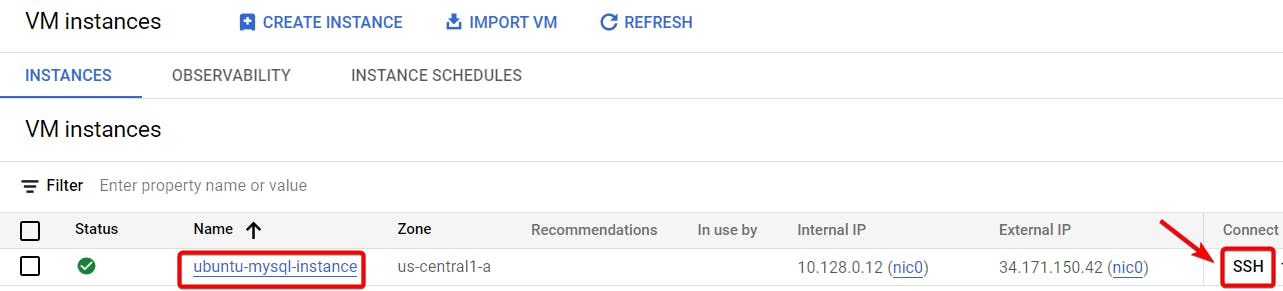
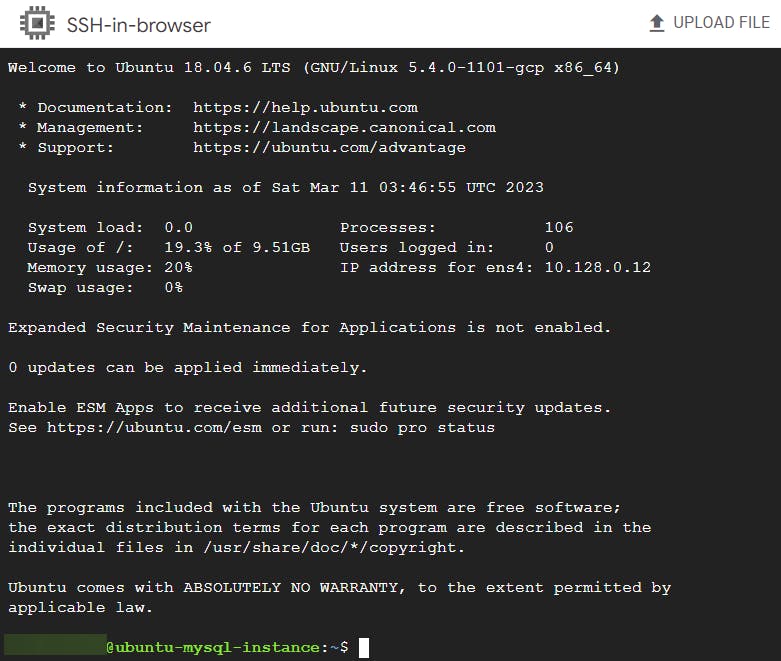
Step 6:- your SSH browser will open.
Step 7:- You can make your system up to date by writing the below command.
sudo apt update
To install MySQL server.
sudo apt install mysql-server -y

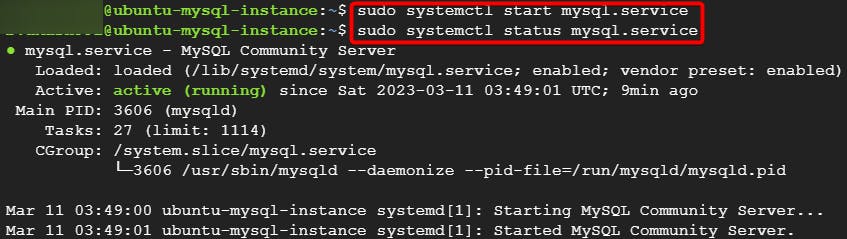
Making sure your MySQL server is up and running.
sudo systemctl start mysql.service
To check the status of MySQL server.
sudo systemctl status mysql.service
By performing various security-related tasks, "sudo mysql_secure_installation" secures a MySQL installation. Once MySQL has been installed or created on a server, this command is typically run.
The following tasks are performed by "sudo mysql_secure_installation":-
sudo mysql_secure_installation
- Setting a root password:- In this way, only authorized users will be able to access the database.
press y then it will ask for password strength I gave 0 for now which is low (you can give medium and strong as you can see in below pic it includes special characters) then write your new password and re-enter the new password.
Finally, type y to confirm.

- Removing anonymous users:- MySQL allows anonymous users to connect to the database server by default. The
"sudo mysql_secure_installation"command removes these anonymous users. press y.

Disabling remote root login:- MySQL allows the root user to connect from any host by default. Additionally,
"sudo mysql_secure_installation"disables remote root logins. press y.
Removing test databases:- A production environment does not require the test databases that come with MySQL.These test databases are removed by
"sudo mysql_secure_installation".Press y.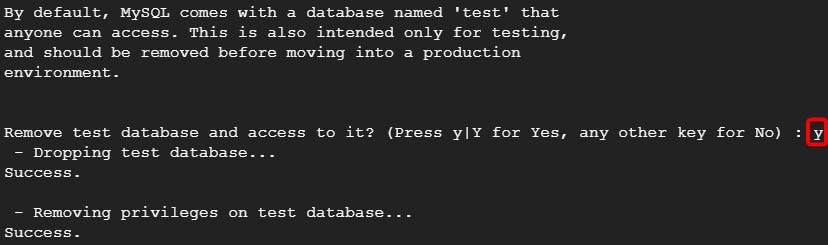
Reloading privilege tables:- Finally,
"sudo mysql_secure_installation"reloads the privilege tables to ensure that the changes made are applied immediately. Press y.
Step 8:- Now we will go inside the mysql server.
sudo mysql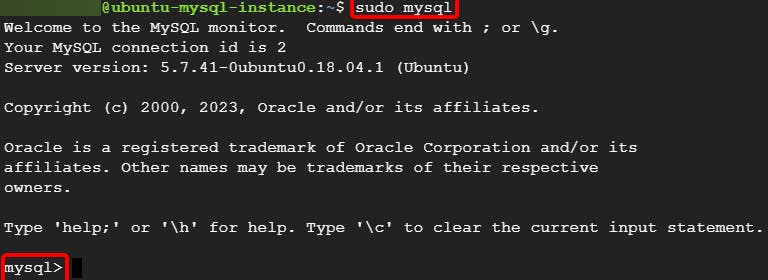
Let's check the version of mysql database server.
select version();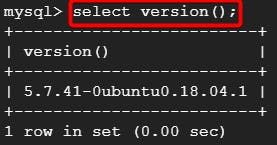
Step 9:- Now let's authenticate our root user.
When you run the query
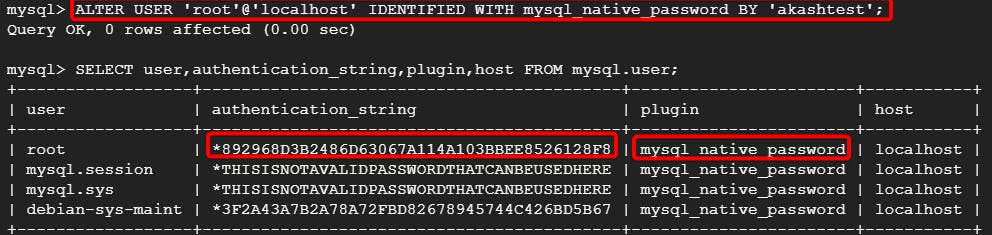
"SELECT user, authentication_string, plugin, host FROM mysql.user;", you will get a result set containing rows for each registered user in the MySQL database, along with their authentication details.SELECT user,authentication_string,plugin,host FROM mysql.user;The "auth_socket" plugin is commonly used on Unix-based systems where a user's operating system username and password are used to authenticate access to the system. It can be a convenient way to allow users to connect to the MySQL server without having to remember a separate password.

Give strong Password which you can give according to your wish but note that it will change the root password which you gave during mysql secure installation.
ALTER USER 'root'@'localhost' IDENTIFIED WITH mysql_native_password BY 'your strong password';
"mysql_native_password" protects against plain-text password storage on the MySQL server. A hash value, instead of the actual password is stored, which is useless for determining the password.
FLUSH PRIVILEGES command is used to reload the grant tables and apply any changes made to the user privileges. To make sure the changes are applied immediately.
FLUSH PRIVILEGES;
once done exit from the mysql server.

Now again type sudo mysql
You should get error since we set up a password for our root user.

So, Inorder to get in the mysql we will use different command for it.
mysql -u root -p
mysql is the command to start the MySQL client program.
-u root specifies that you want to log in as the root user.
-p tells MySQL to prompt you for a password.
When prompts you write your root password.

Step 10:- Now I want to create my own user.
CREATE USER 'your username name'@'localhost' IDENTIFIED BY 'your strong password';

Now, we will grant previleges to our user.
GRANT ALL PRIVILEGES ON *.* TO 'your username'@'localhost' WITH GRANT OPTION;

GRANT ALL PRIVILEGES grants all possible privileges that can be assigned to a user account.
ON *.* specifies that the privileges are granted to all databases and tables.
TO 'your username'@'localhost' specifies the username and the host from which the user is connecting.
WITH GRANT OPTION allows the user to grant the same privileges to other users.
To check if the user is added or not.
Type again the following command.
SELECT user,authentication_string,plugin,host FROM mysql.user;
As you can see we created a new Authenticated user user.

Now again exit from the mysql server
exit

Now we will login with our user.
mysql -u your username -p
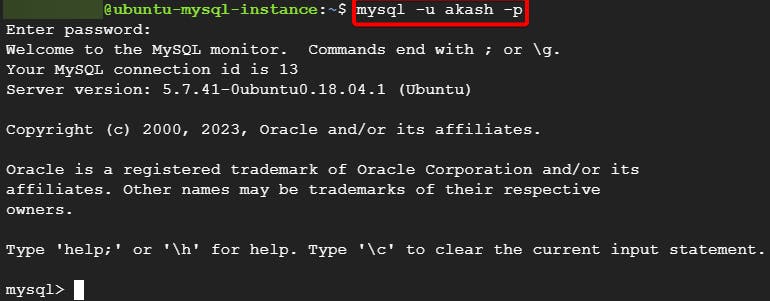
As you can see we can login with our user.
Now you can perform or create databases and add tables on it, That's for another day
That's it, for now, we will continue further more in next blog.
Hope you liked it. Will see you on the next topic 😃
Next Topic
https://bvakash.hashnode.dev/set-up-mysql-in-debian-compute-engine