

In this lab, we will be installing MySQL on Debian.
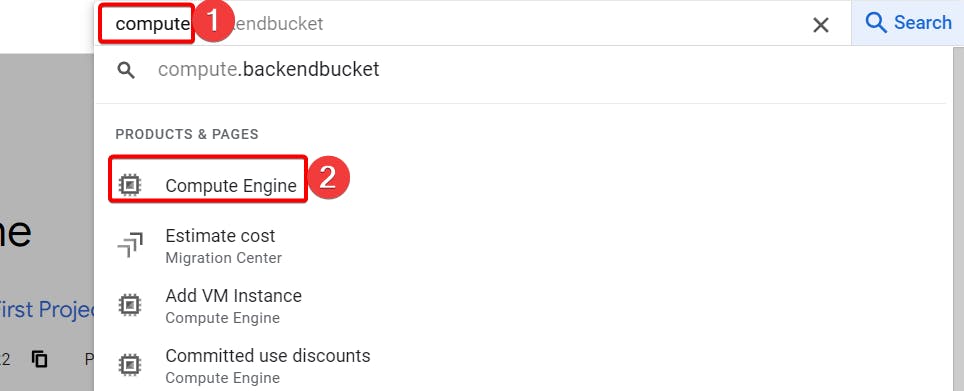
Step 1:- Write compute and click on compute engine.
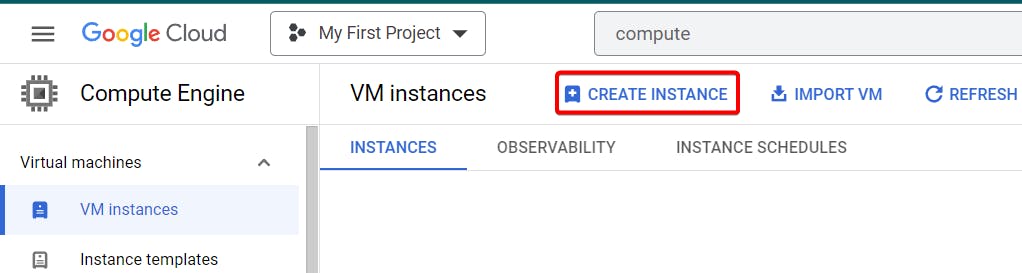
Step 2:- Click on create instance.
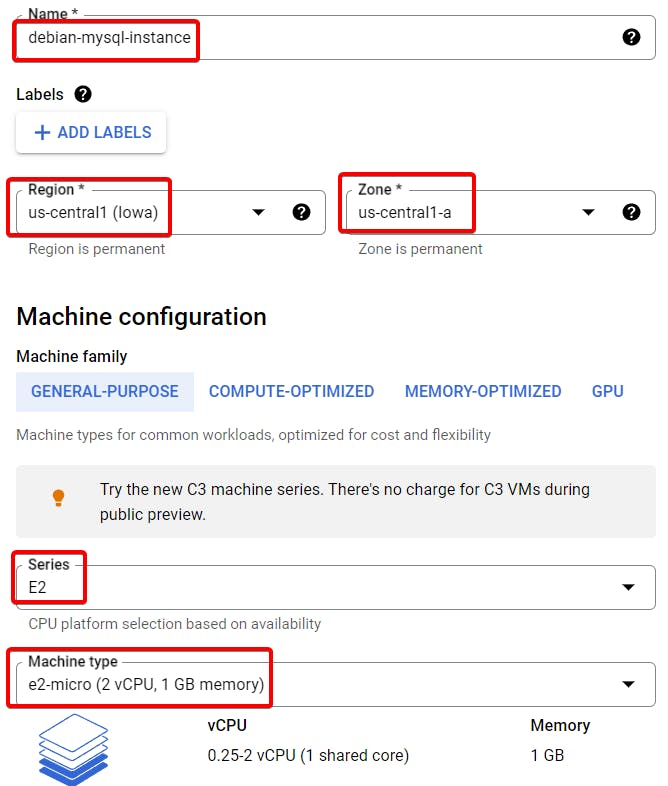
Step 3:- Name your instance, Give region and zone, Finally choose the appropriate machine type.
Step 4:- Under Boot disk click change to choose Debian os.


Step 5:- Click on create.

Your instance will be created, Now click on your instance SSH.
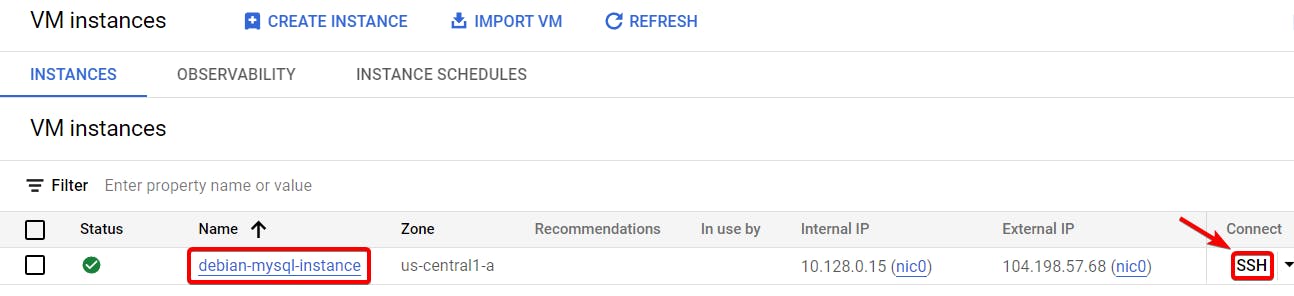
Step 6:- your SSH browser will open.

Step 7:- Type the following command to install mysql server in debian and also will do secure our mysql server:-
let's install mysql server before that let's update, to make sure all the package is installed.
sudo apt update
This command will install all the packages on your local system.
sudo apt upgrade
check if you have wget tool. Since i don't have I can download using following command.

Using Wget, you can download files from the server at the URL specified, and save them locally.
sudo apt install wget
Step 8:- Go, To download MySQL packages from https://dev.mysql.com/downloads/
Step 9:- Click on MySQL APT Repository, since we are using debian OS we will use apt package.
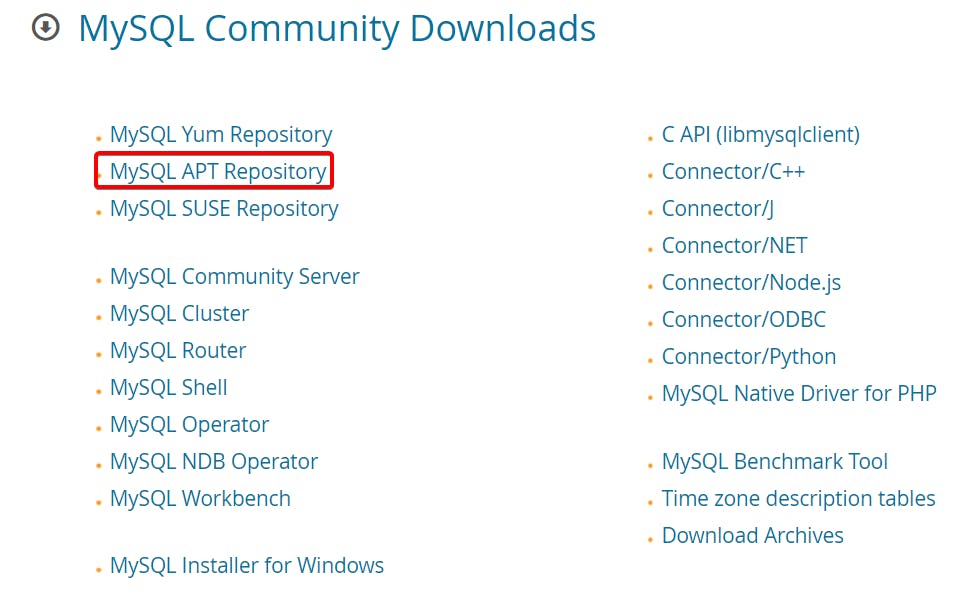
Once you get apt package like this copy the selected part which is shown in below picture.
With the "mysql-apt-config" package, you can configure which MySQL version you want to install which is here in our case it's 0.8.24-1 and how the APT repository should be configured.
mysql-apt-config_0.8.24-1_all.deb

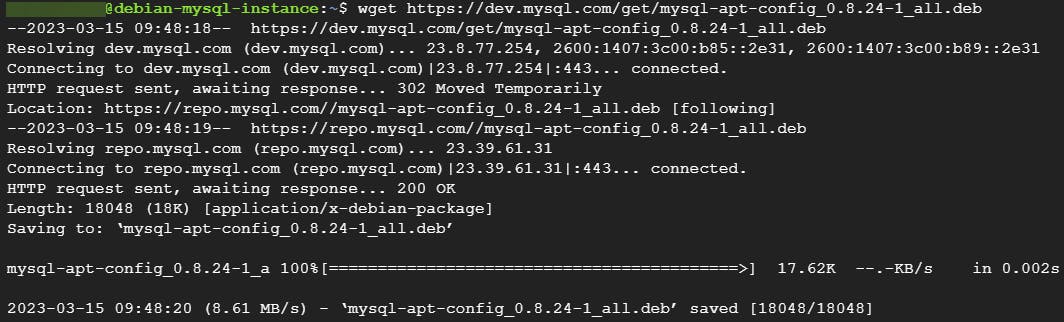
Step 10:- Paste the following command in this format, when I created this blog this was my latest package you can replace it with the latest package if you want, visit this link
wget https://dev.mysql.com/get/mysql-apt-config_0.8.24-1_all.deb
to list the downloaded package type ls

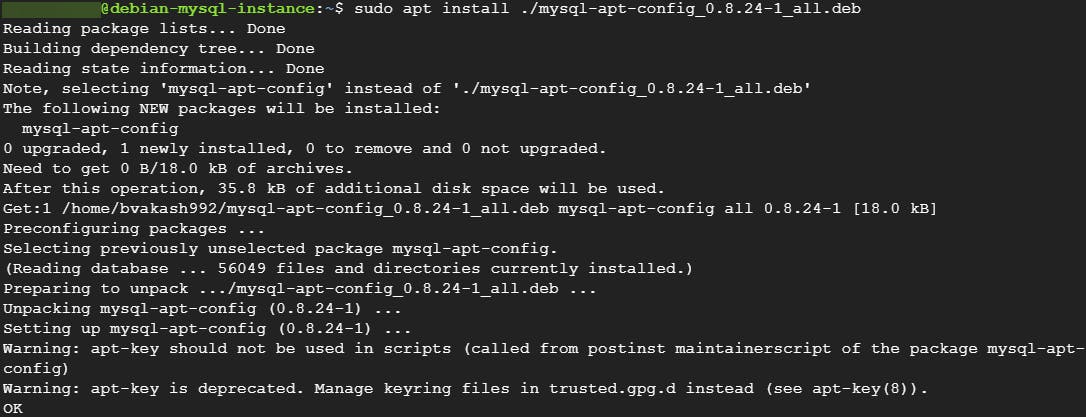
As you can see you downloaded the package to your system, Now lets install the package
sudo apt install ./mysql-apt-config_0.8.24-1_all.deb
You have to choose myself to configure. you might get pop up screen like this. Click Enter.
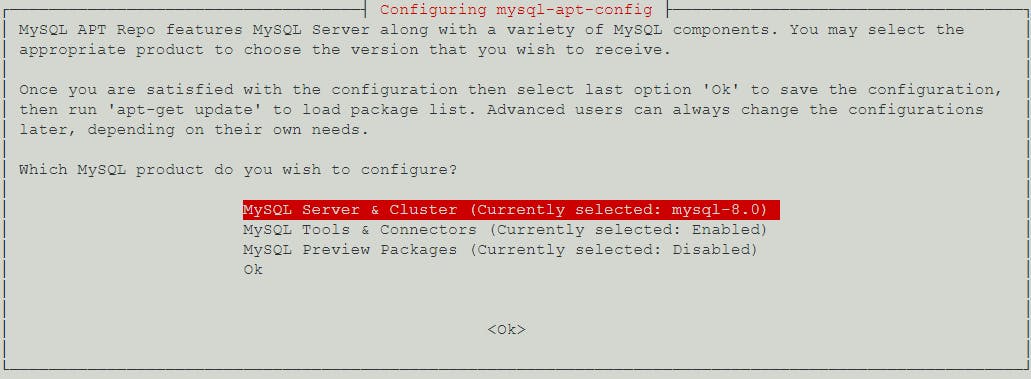
Click Enter, Again we will use mysql-8.0

If above two pic reappears again click down arrow until you reach ok and click Enter
Again you might get the same pic Enter again, Automatically it will install the mysql-8.0 version.
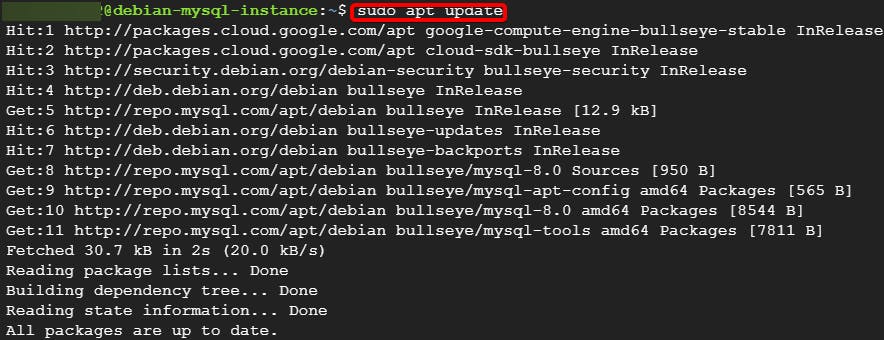
Now again type sudo apt update to check if all the package are upto date or not.
sudo apt update
Let's install mysql-server
sudo apt install mysql-server -y
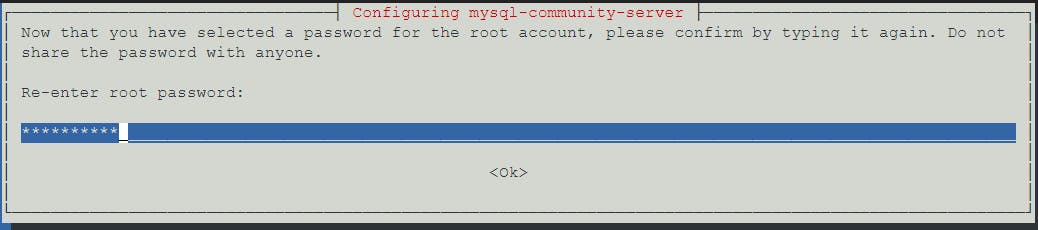
Enter the root password according to your wish.

Re-enter root the password.
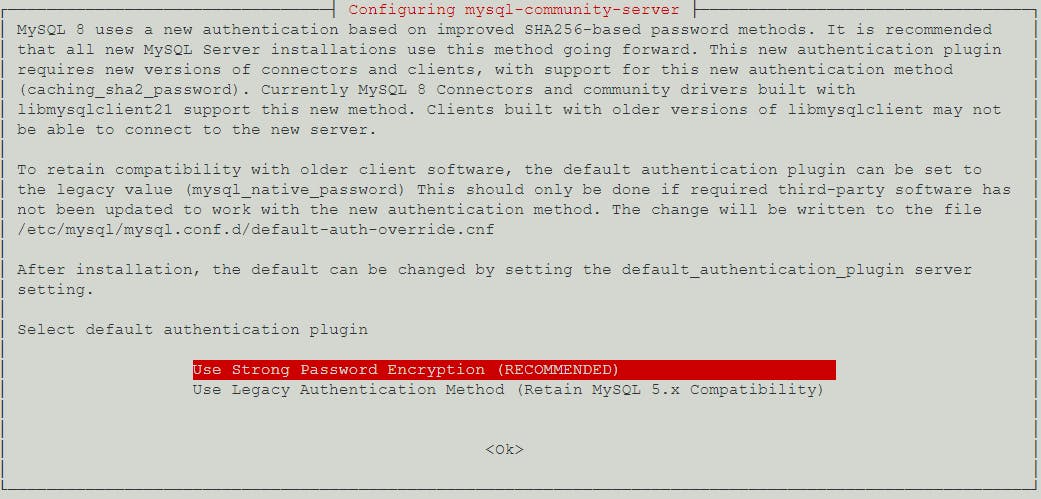
For now, we will select the password encryption plugin which is Recommended.
Once you click Enter, your MySQL will install.
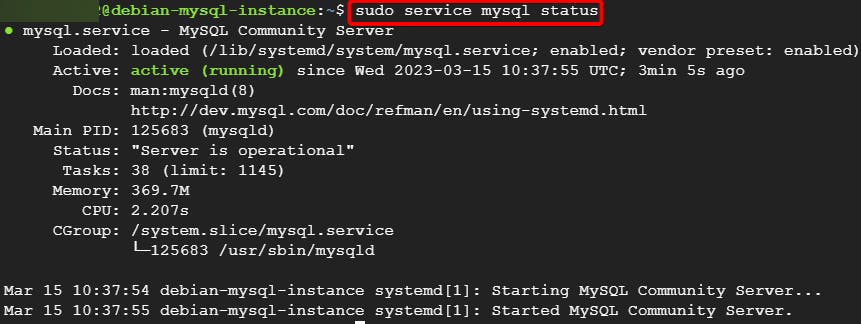
Step 11:- Now, Let's check mysql status, It should be running status.
sudo service mysql status
Step 12:- Type the following command to secure the mysql server.
sudo mysql_secure_installation
Give the root password for root user which you gave before, You can change it after words.

for changing the root password I gave no you can give yes and create new root password.
Rest for Everything give yes or y confirmation.

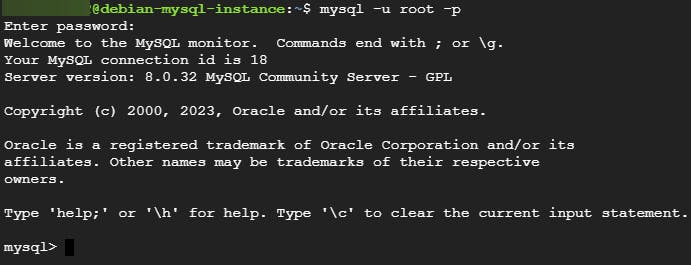
Step 13:- Login to your mysql server as a root.
mysql -u root -p
Once you type the command you have to type the password, which you have given before.
Step 14:-Now I want to login using my own user instead of root user for that follow Step 10 in below this link:-
https://bvakash.hashnode.dev/set-up-mysql-in-ubuntu-compute-engine
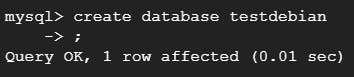
Step 15:- Let's create database on our user.
create database testdebian;
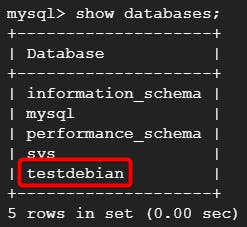
To show our databases type, Your database should be visible.
show databases;
To use our database.
use testdebian

Let's create table on our database, For now i just gave two rows for now.
create table debianuser(NAME varchar(25), AGE int);

To check if the tables created.
show tables;

To insert some info into tables.
insert into debianuser values("JACK", 25);

To see if the data inserted.
select * from debianuser;

That's it, for now, we will continue further more in next blog.
Hope you liked it. Will see you on the next topic 😃