In this lab we will know how static IP Address works.
Step 1:- Make One new instance and Check out your IP address it's dynamic, means if I stop and start the machine my IP address will change.

Step 2:- Choose your instance and click on stop.
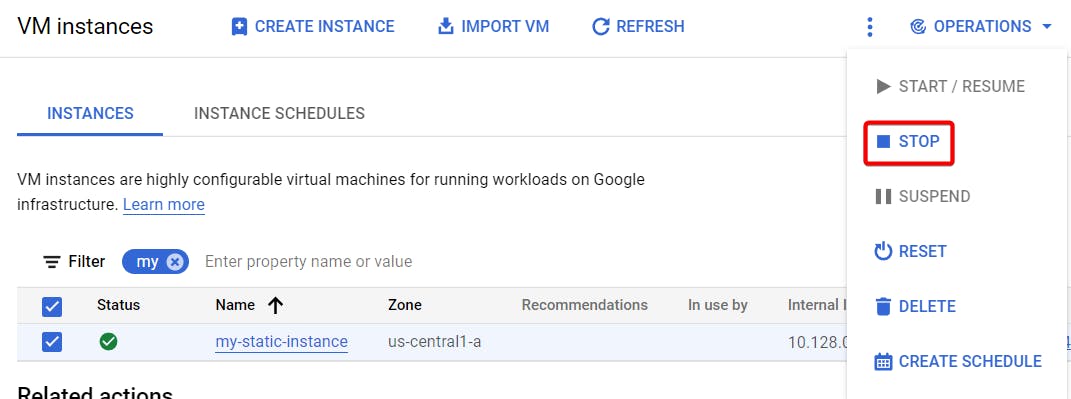
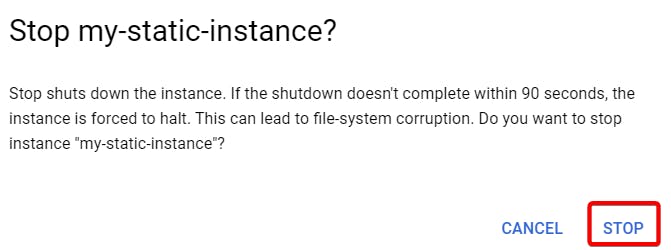
Step 3:- Your machine will be stopped with no IP address.

Step 4:- Now choose your machine and click on start.
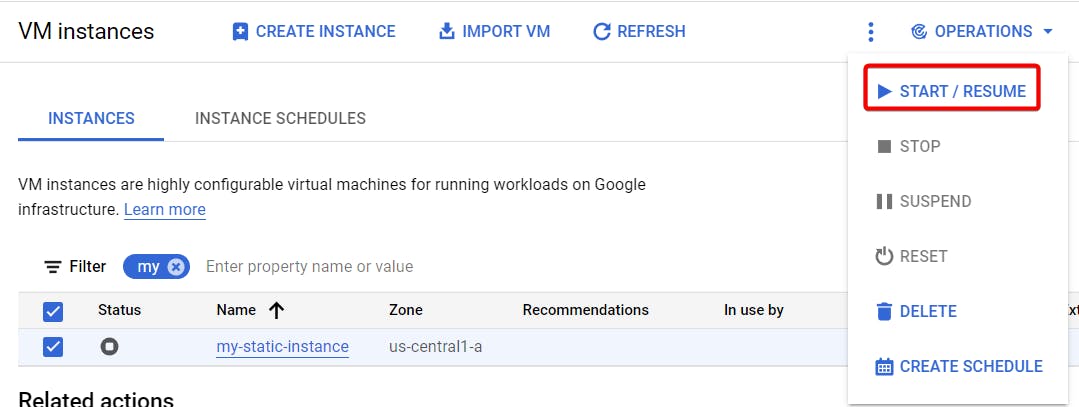
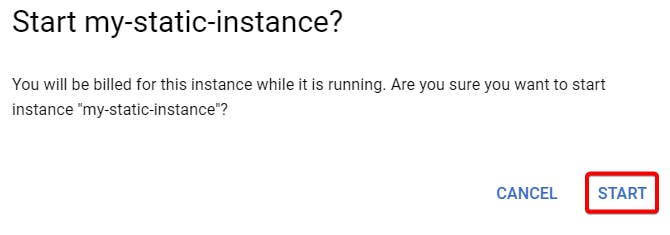
As you can see here your IP address changes because it's dynamic.
Note:- Sometime your machine uses same IP address. So you can just stop your machine refresh it and then again start your machine.

In order to make your IP address static do the following steps
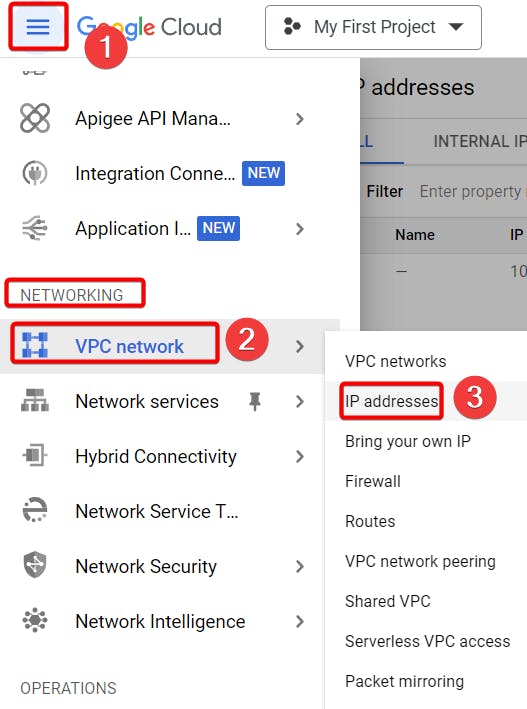
Step 5:- Expand services, Under **networking ** go to VPC networks and click on IP addresses.
Step 6:- Filter out your instance, You can see the IP address is currently **Ephemeral **means IP will change.
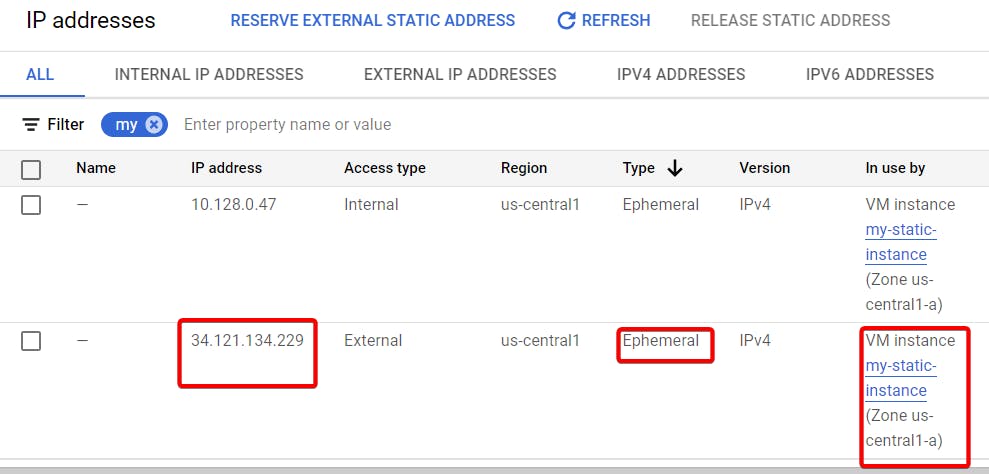
Step 7:- Now click on reserve External Static IP address.

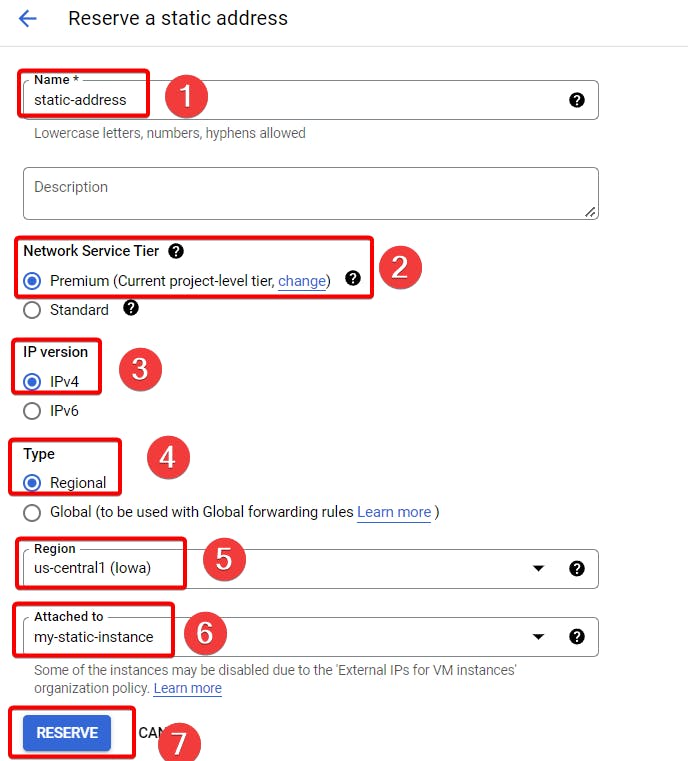
Step 8:- Name your **instance **and make sure you chose correct region and Attached to your instance, Finally click reserve.
Step 9:- As you can see now your IP address is static.

Let's check if It's working or not.
Step 10:- Go to your VM instance page, Choose your VM and click Stop.

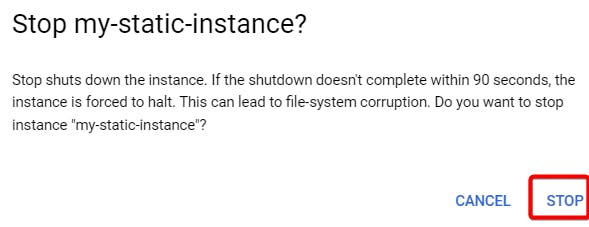
As you can see even our instance is stopped but our instance IP address won't change because our IP address is static.

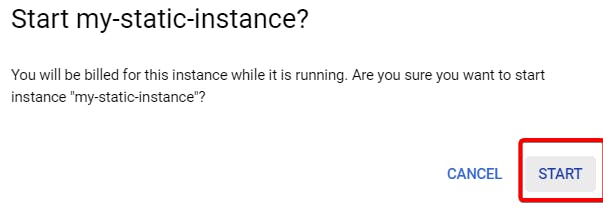
Step 11:- Now chose your machine start your instance.

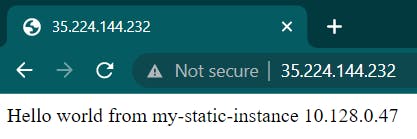
Step 12:- Now copy, paste your IP address on your Browser.

Step 13:- Finally, We used static IP address and launched our instance with it.
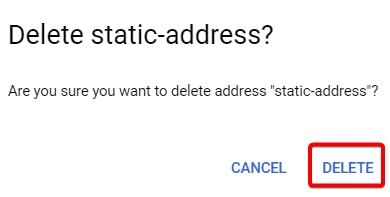
Now delete your instance and go to your IP address page in VPC networks.

Choose your static address and release static address.

Note:- If you are not using your static IP address, release it because google will charge you double for that address if it's not attached to particular instance.
That's it, for now, we will continue further more in next blog.
Hope you liked it. Will see you on the next topic 😃
