Google compute Engine (GCE) - custom Image

In this lab we will launch our VM instance using custom image
Here we are going to use our previous lab template.
let's begin
custom image :- Basically, a custom image is the image we use to save the boot disk state. In our previous lab we used startup script to launch our web application. We don't want to lose that state. So, we can create a custom image for that boot disk.
there are two types of images for now in GCP:-
Public image :- There are some images that we have used in previous labs, which GCP provides, such as the following:- debian, Red Hat Linux, Ubuntu, Window Server, etc.
Custom image :- The custom image will be created by using our boot disk. By using that custom image we will create our VM instance.
Let's start with our lab.
Step 1 :- Make sure you stop the desired VM instance.

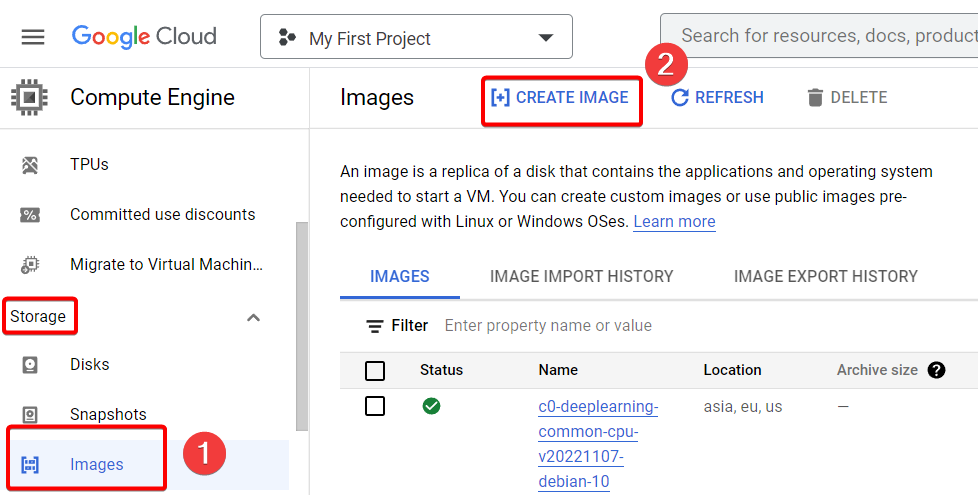
Step 2 :- On your left screen you should see storage under that click on images followed by click on create image.
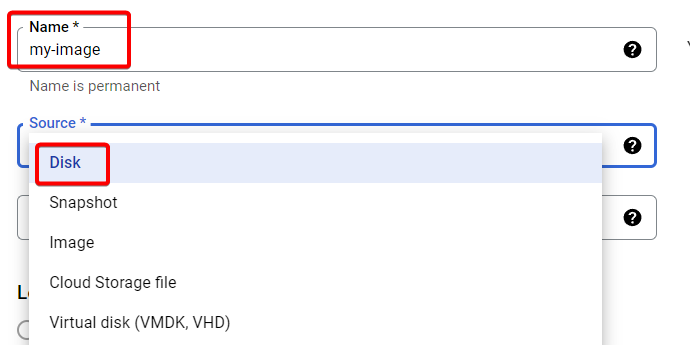
Step 3 :- Give a name for your custom image and Choose source as disk.
We chose disk because we want to create custom image from our boot disk.
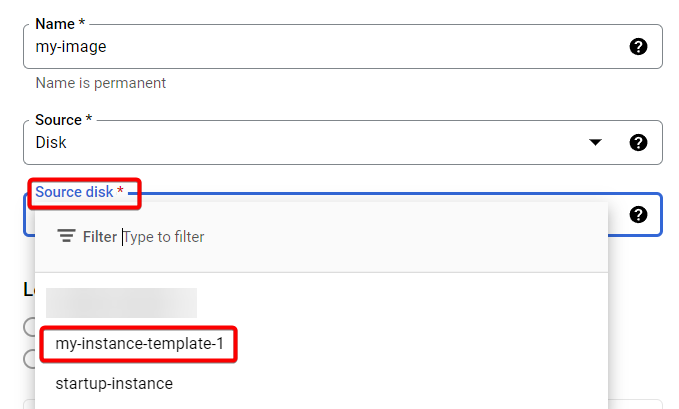
Step 4 :- We have already created a VM template on our previous lab, we can use that template as our source disk.
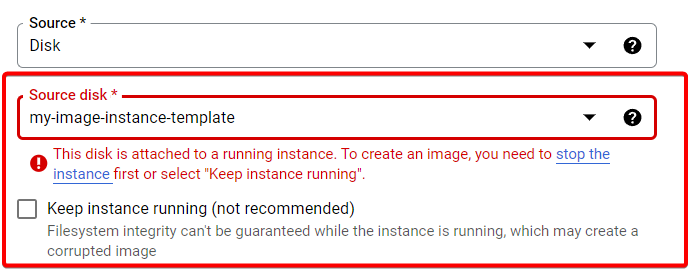
Note :- You can choose running instance to create custom image of your boot disk but it's not recommended as you can see in below image. because you might get corrupted image. So it's not recommended.
Step 5 :- For location select Regional for now and select your desired region.
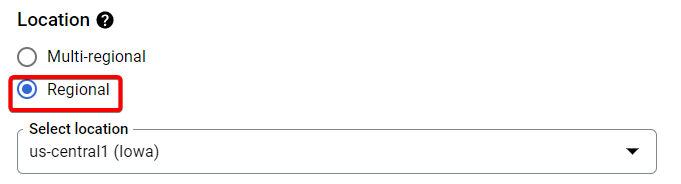
Step 6 :- Rest everything default and Click on create.
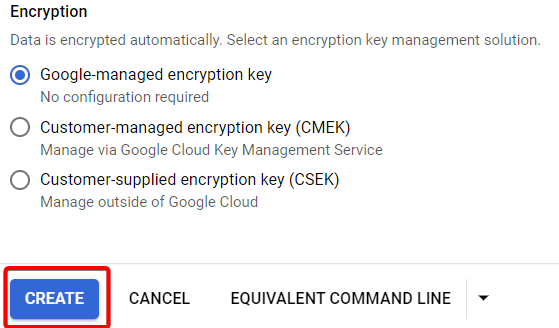
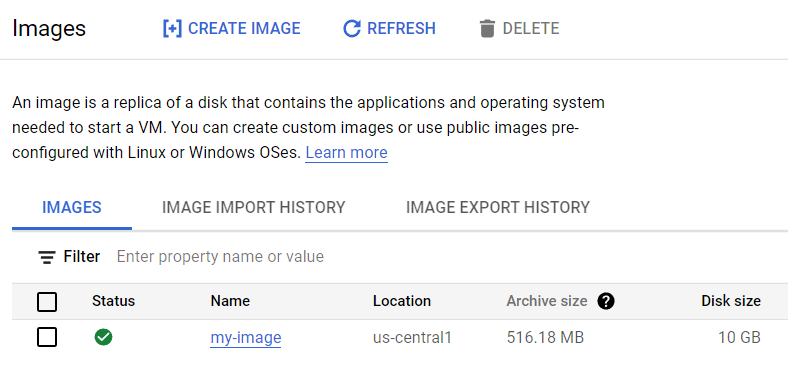
Step 7 :- your image will be created.
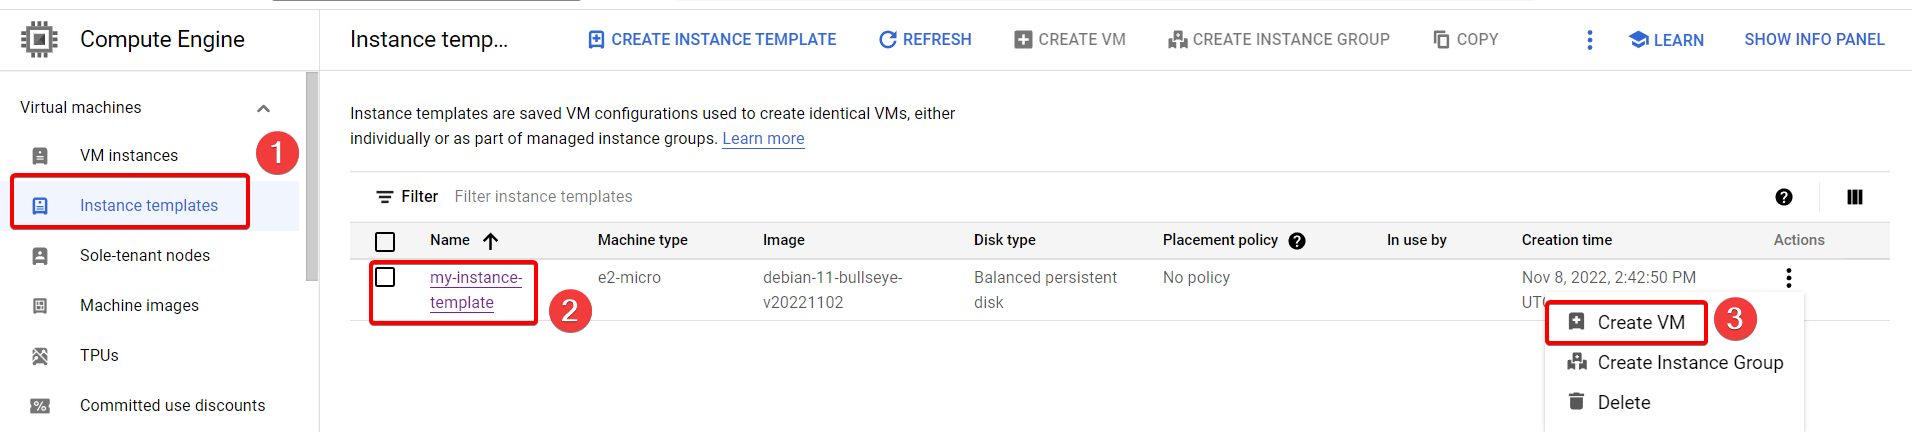
Step 8 :- Click on instance templates on your left screen, choose your instance template and click on action followed by click on create VM.
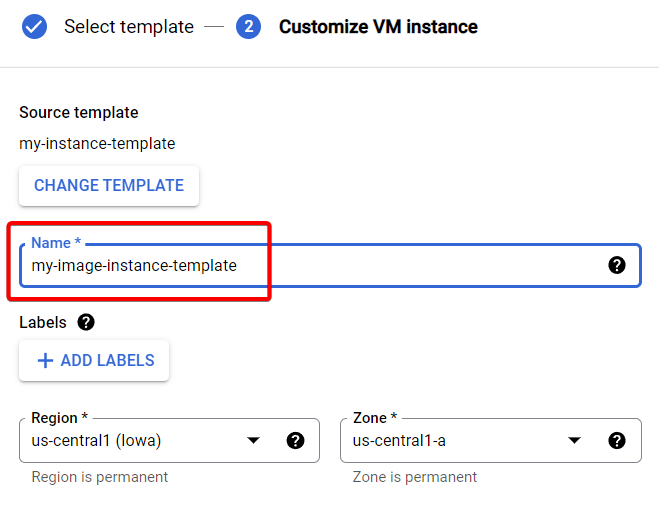
Step 9 :- Name your instance template according to your wish and Plus region.
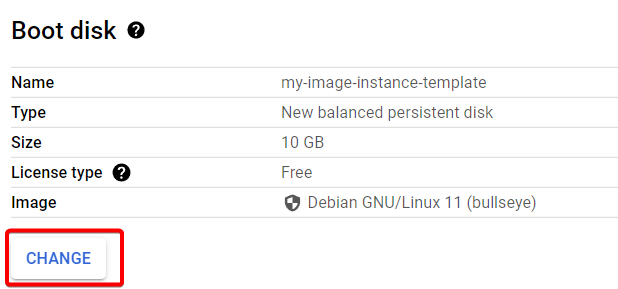
Step 10 :- Scroll down and under Boot disk click on change.
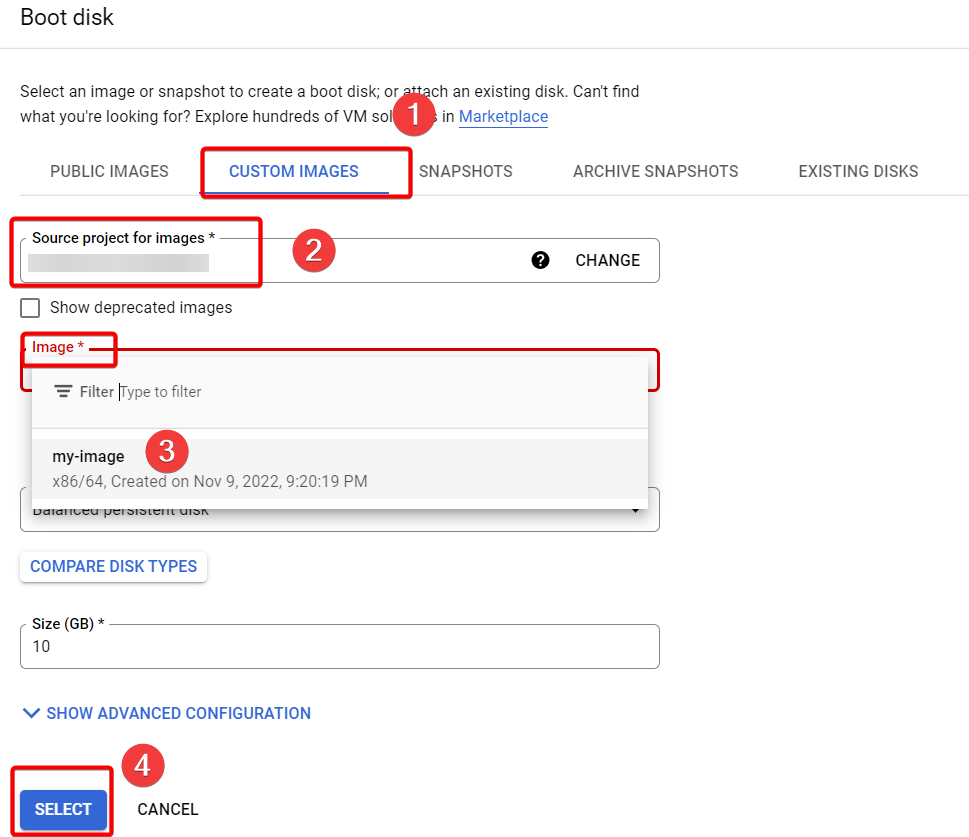
Step 11 :- Go to custom image, Make sure you are in the right project under image choose your image which we have created before and finally, click on select.
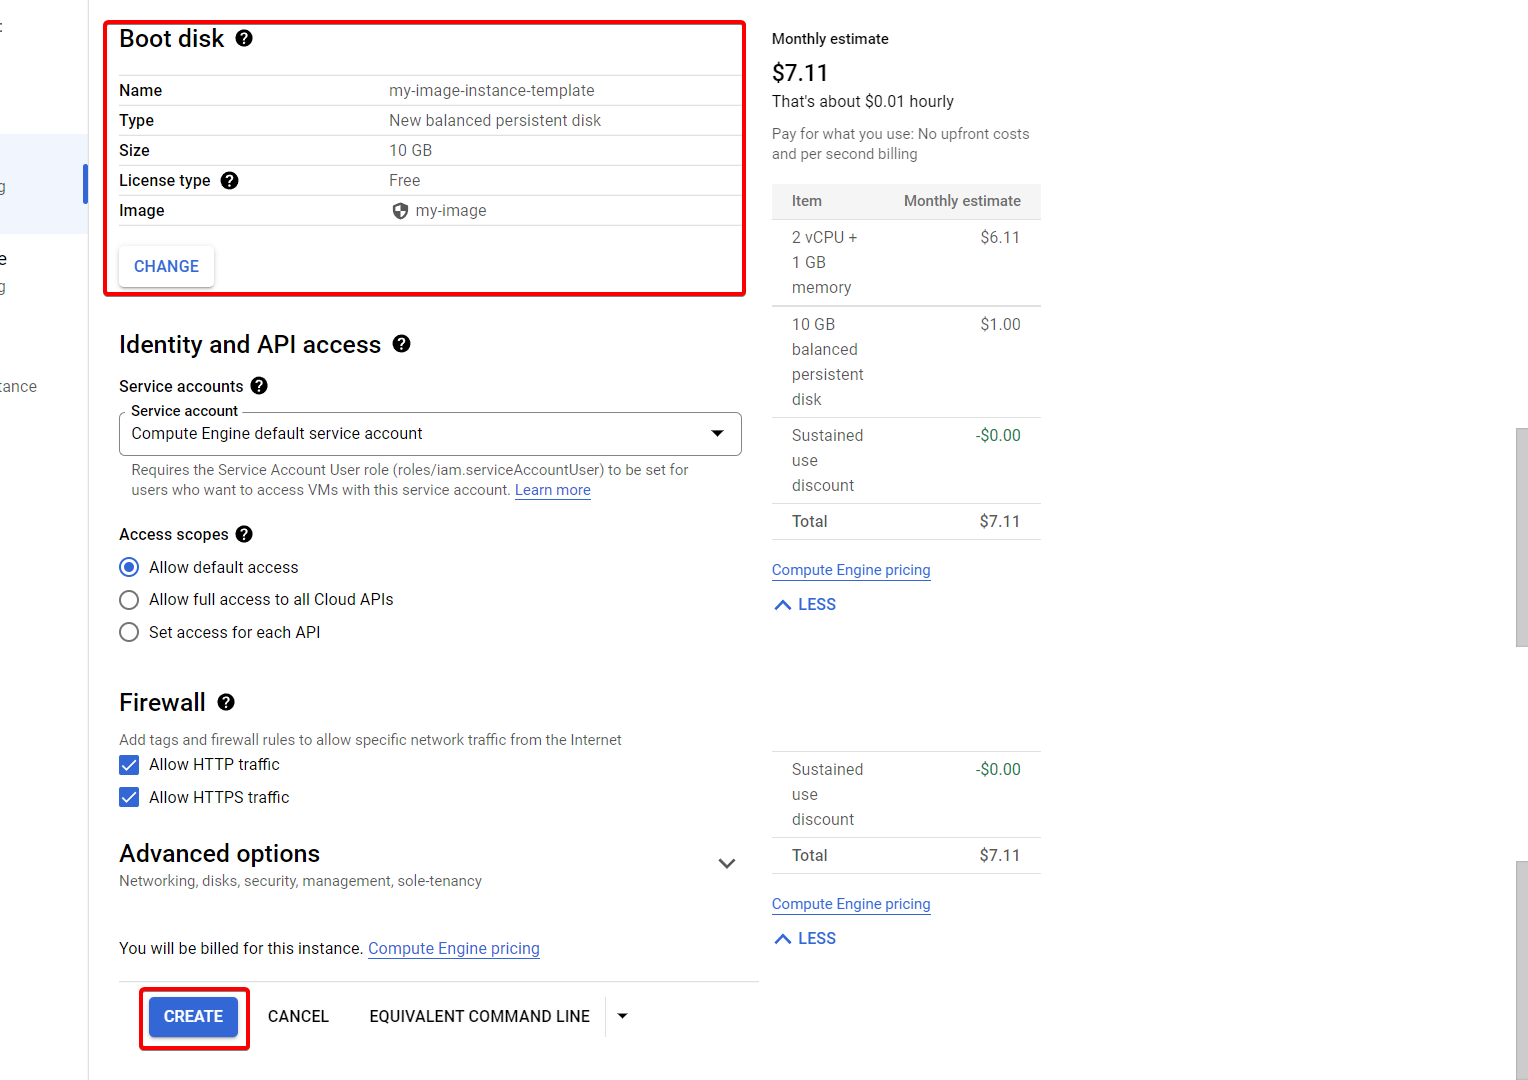
Step 12 :- As you see we choose our custom image and Finally click on create.
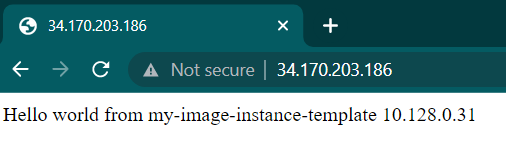
Step 13 :- Once your instance up and running, Copy your instance external IP address and paste it on your web browser. Your web page should work.
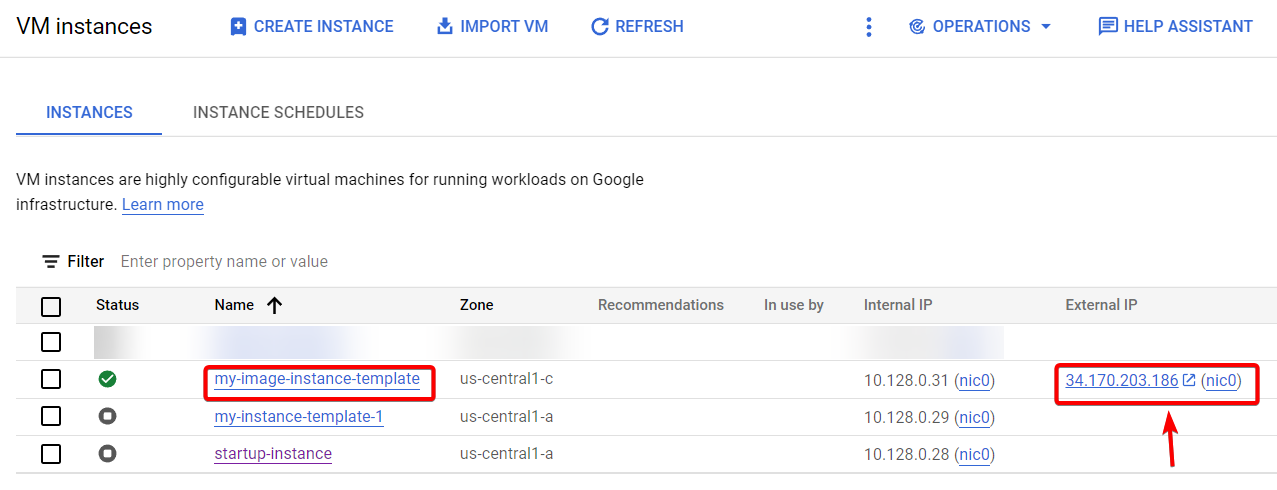
Step 14 :- As you can see our startup script is working by using our custom image.
That's it, for now, we will continue further more in next blog.
Hope you liked it. Will see you on the next topic 😃
Next topic
https://bvakash.hashnode.dev/google-compute-engine-gce-machine-image


