Google Load Balancer (GLB)

In this lab we will be looking at how the load balancer works
In short load Balancer, as name suggests it balances the traffic and make sures the traffic goes to your end user without causing any performance issue in your server.
Let's get started with lab
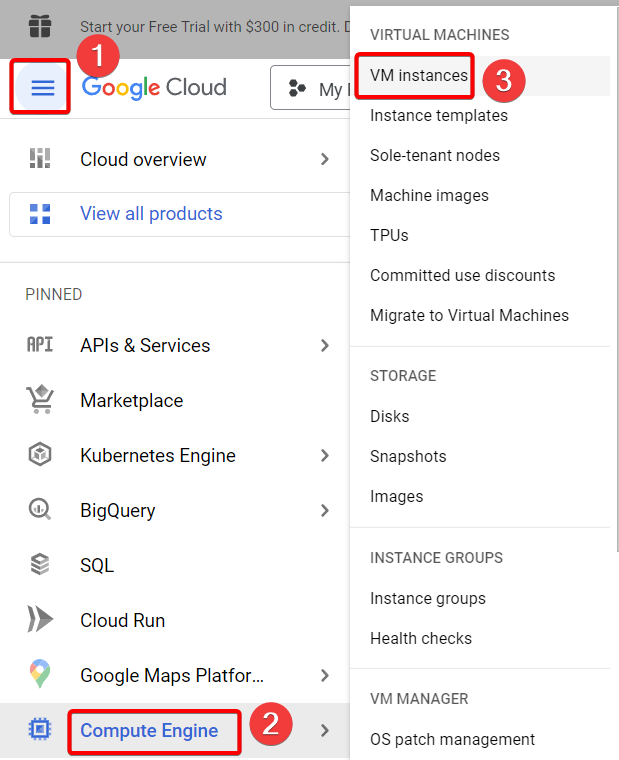
Step 1:- First expand your service click on compute Engine and followed by VM instances.
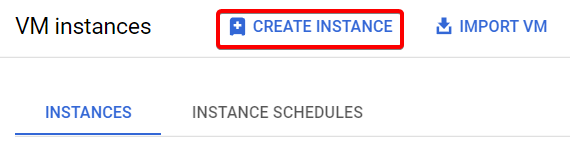
Step 2:- Click on create instance.
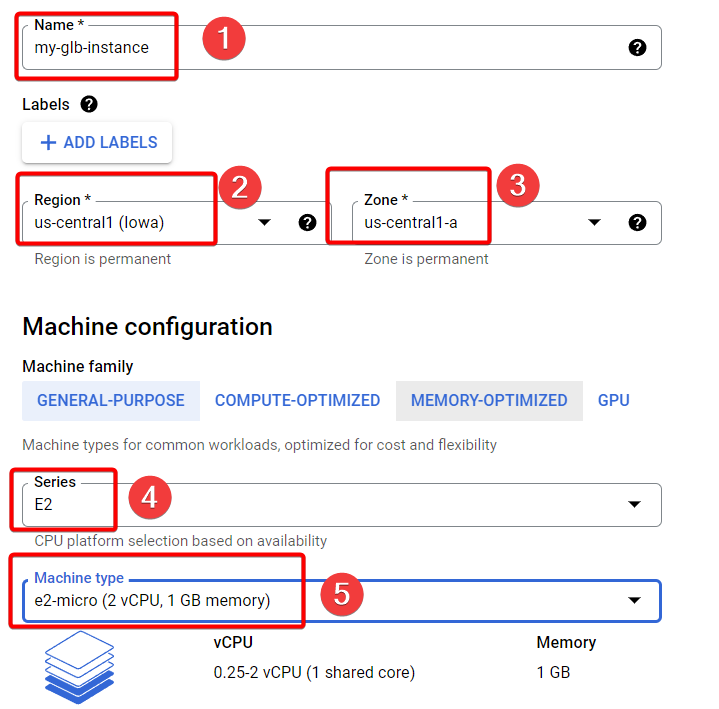
Step 3:- Write your instance name, choose desired region , Zone and Finally your machine Type.
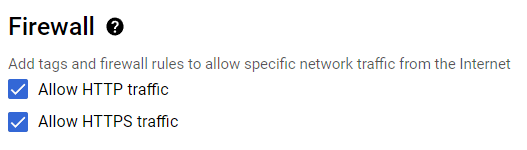
Step 4:- Scroll all the way down Under Firewall Allow HTTP traffic and Allow HTTPS traffic.
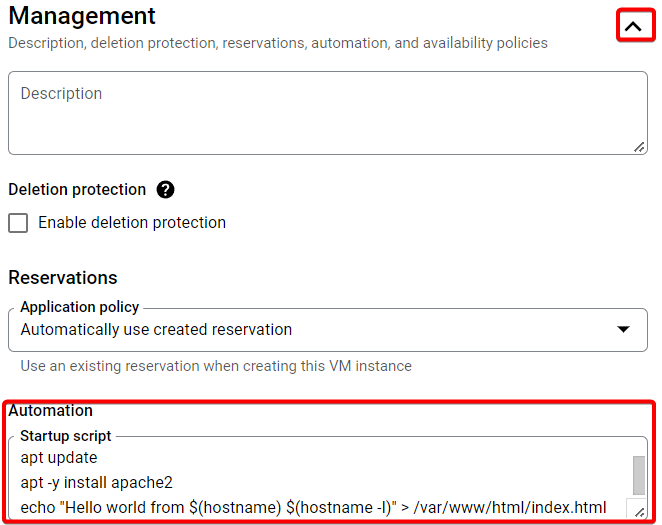
Step 5:- Expand Advanced options and Under Management, Paste your code under startup script and click on create to launch your VM instance.

#!/bin/bash
apt update
apt -y install apache2
echo "Hello world from $(hostname) $(hostname -I)" > /var/www/html/index.html
Step 6:- Your VM instance will be created.

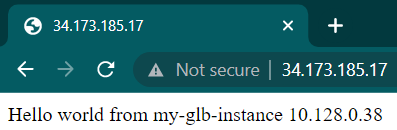
Step 7:- Now copy, paste your External IP Address in your Browser.

Your web page should work
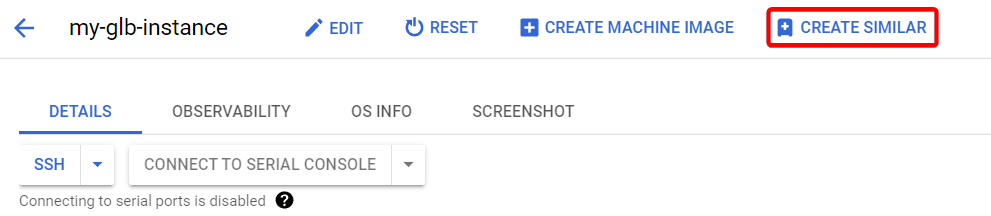
Step 8:- Click on your instance and click create similar.
Step 9:- Check your instance configurations, scroll down and click create.
Step 10:- Check if second instance startup script is working or not.

it should work.

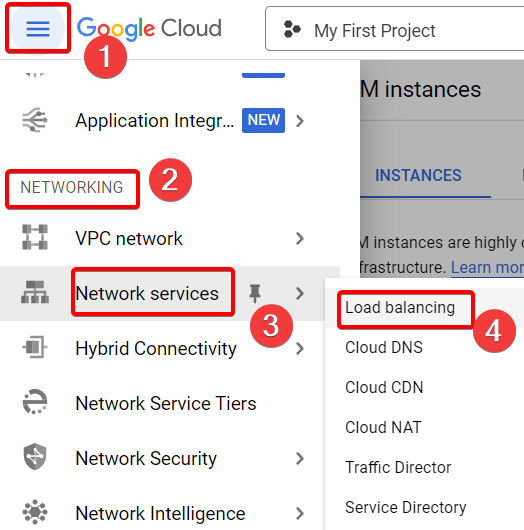
Step 11:- Expand services scroll down you should see Networking under that Network services followed by Load Balancing.
Step 12:- Click on create Load Balancer.

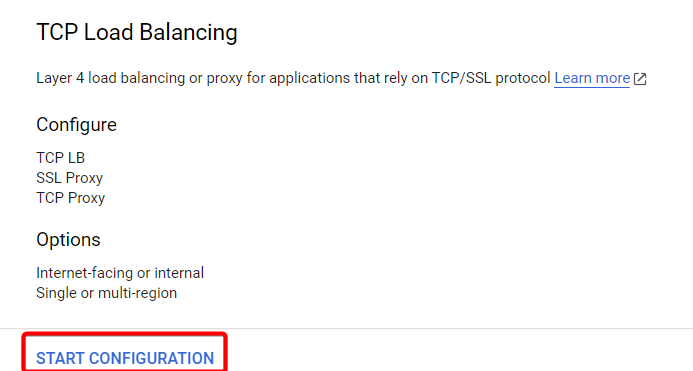
Step 13:- Will choose TCP load Balancing and click start configuration.
Step 14:- Make sure to choose the options properly and click on continue.

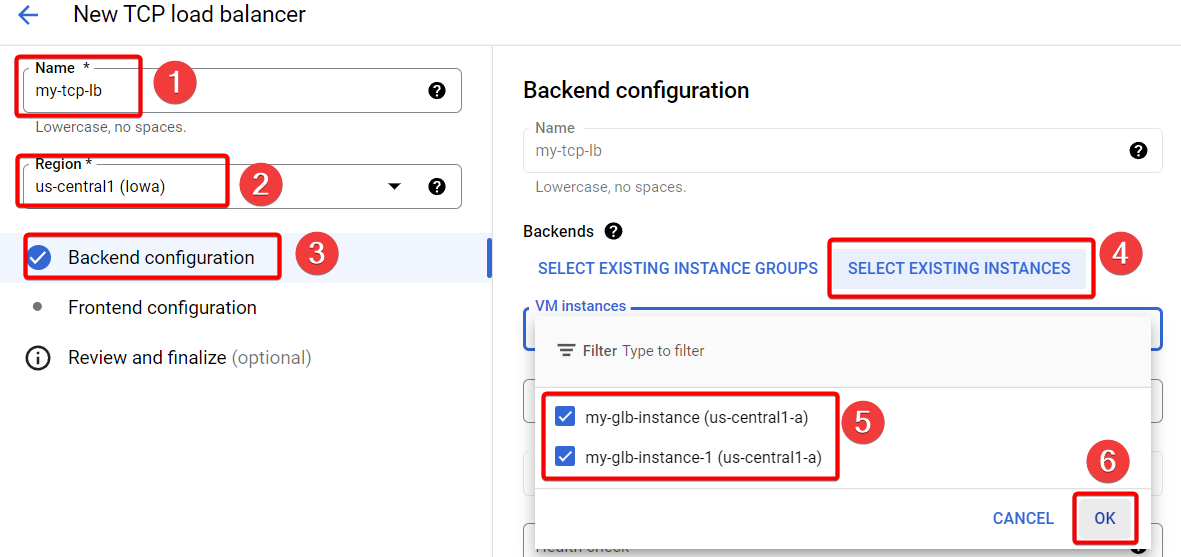
Step 15:- In Backend configuration Write your Load Balancer name, Region and choose your Existing instance and finally click ok.
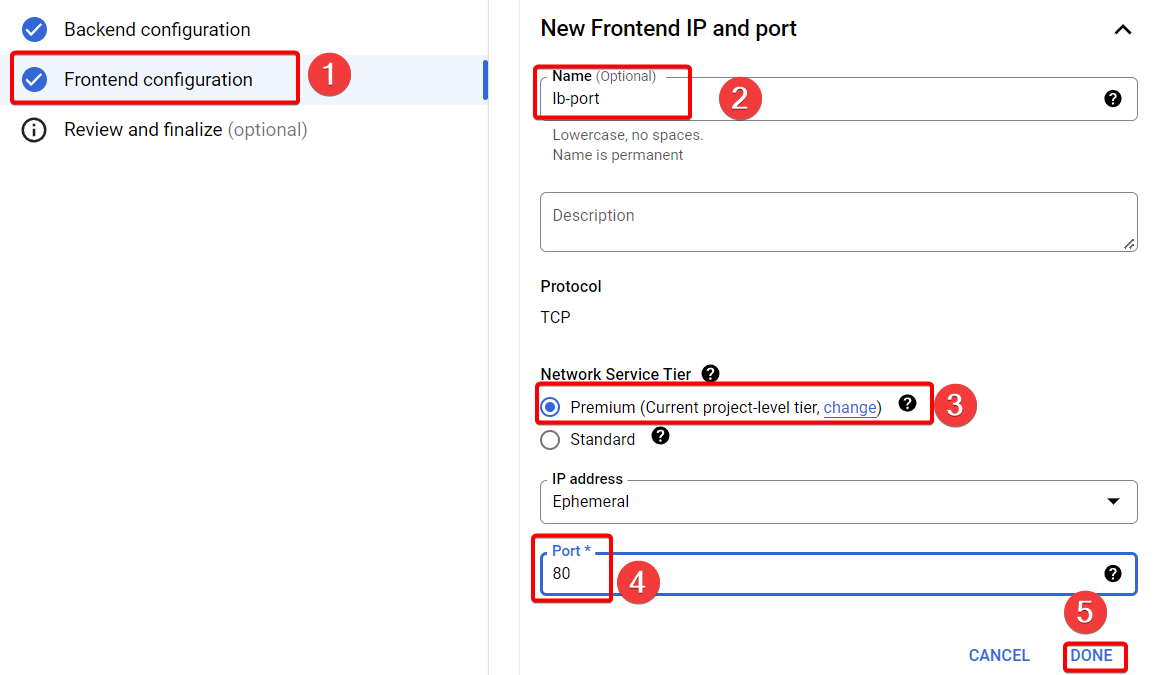
Step 16:- In frontend configuration write name for port, Choose premium for Network service tier and Give port 80 finally click Done.
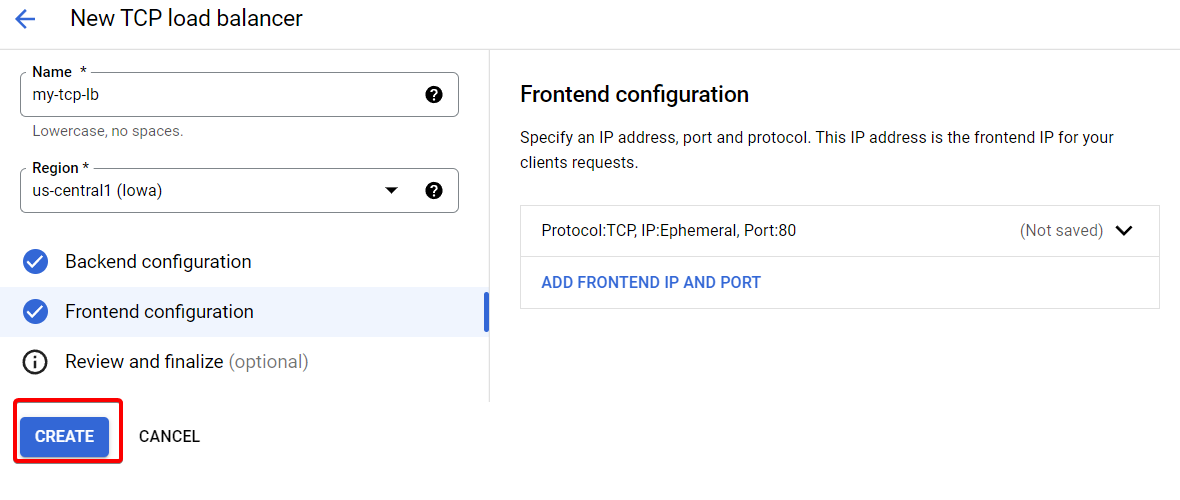
Step 17:- Click create.
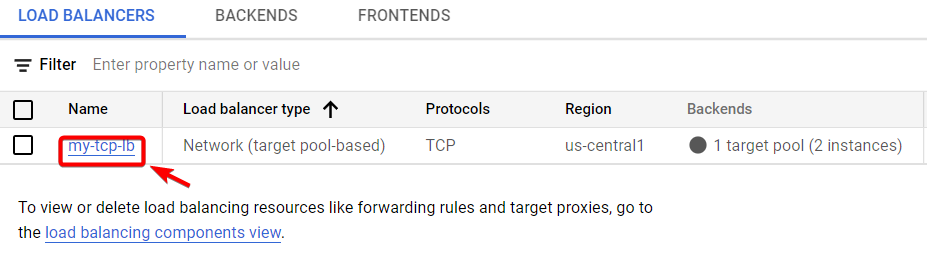
Step 18:- Go inside your Load Balancer.
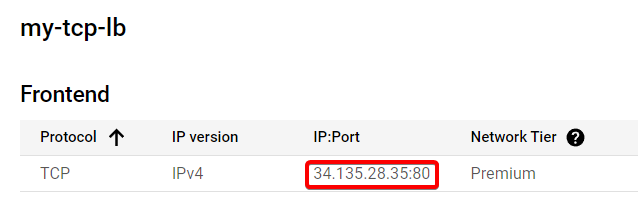
Step 19:- Copy and Paste your load Balancer IP address in your browser.
Step 20:- If you reload this page it will Balance load accordingly.
In the below gif you can see how our Internal IP changes. If one instance gets more traffic automatically load balancer will move to another instance to balance traffic.
That's it, for now, we will continue further more in next blog.
Hope you liked it. Will see you on the next topic 😃
Next Topic
https://bvakash.hashnode.dev/google-instance-group-with-instance-template


