


This part of lab we are going to GCE instance and play with it accordingly.
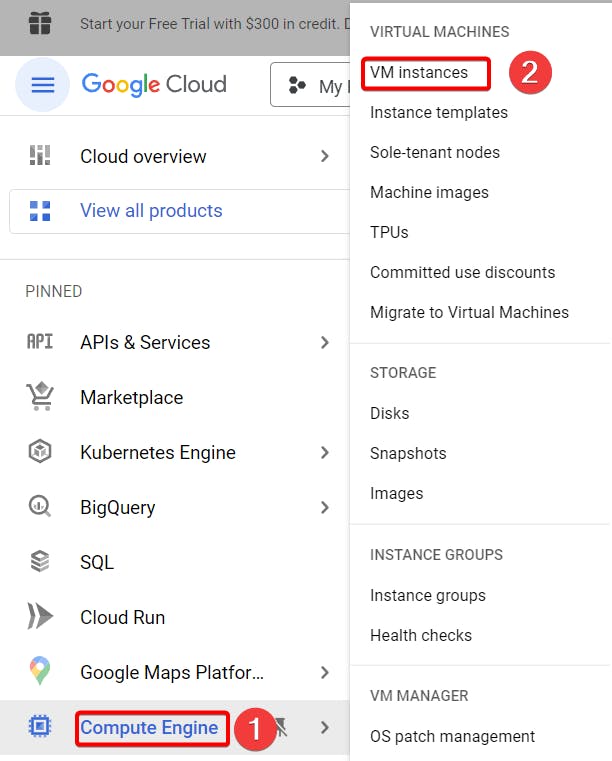
Step 1:- On top left corner, Expand services, select compute Engine and click on VM instances.
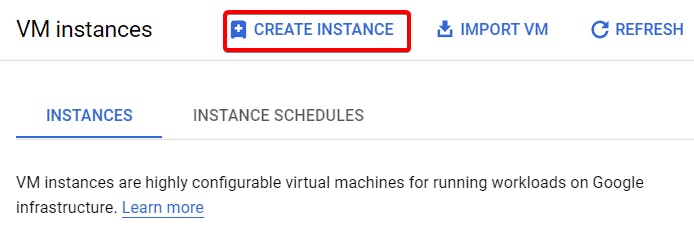
Step 2:- Click on create instance.
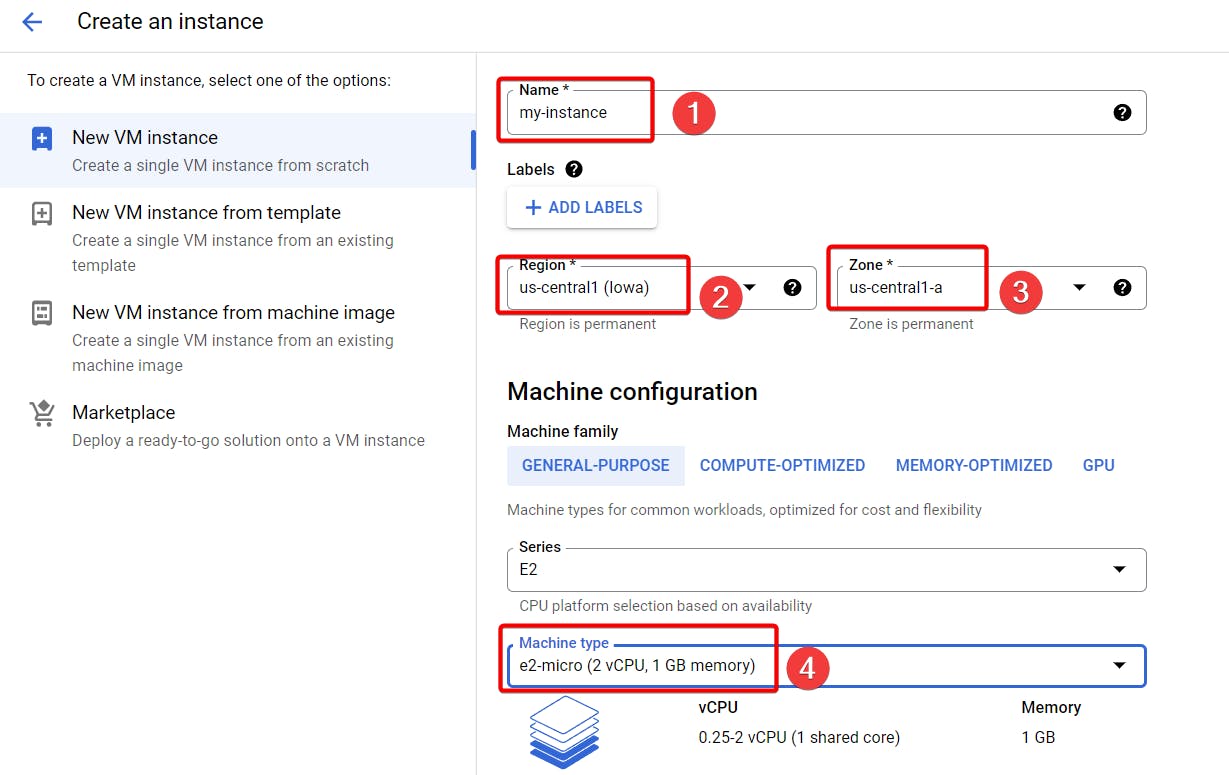
Step 3:- Name your instance, choose your **region **and **zone **according to your wish plus choose machine type for now I chose smallest type for this lab.
Step 4:- Change the Boot disk to Red Hat Enterprise Linux and select Pay as you go(PAYG) option, finally click select.
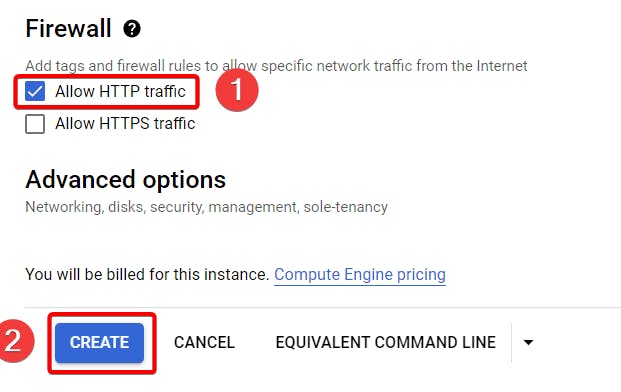
Step 5:- Under firewall choose to Allow HTTP traffic rest every option will be default and finally click create.
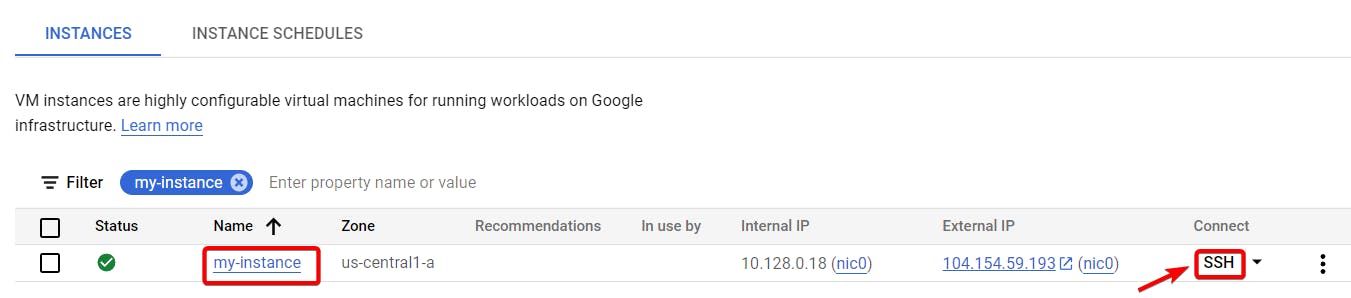
Step 6:- You should see your instance after that click on SSH to log into your instance.
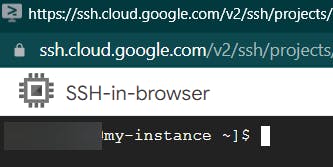
Your SSH browser should open.
Step 7:- Let's install Apache server on our instance.
Type out the following command to install Apache.
sudo yum install httpd
Type **y **if you get like below image

or else you can type below command.
sudo yum install httpd -y
**sudo **- it is a superuser or substitute user do which you are giving a specific system command at root.
**yum **- with this command you can install, update any package.
**httpd **- it is used for basic communication or getting request for your Apache web server or Application.
-y - it is basically like saying yes to proceed with installing some package in short.
Next write the following command to start your Apache server.
sudo service httpd start
Step 8:- Click on your instance external IP.

You should see your Apache web page in red hat linux.

That's it, for now, we will continue further more in next blog.
Hope you liked it. Will see you on the next topic 😃