Bastion Host (Jump host)

In this lab, we will create a Bastion host
before this lab complete Creating VM with using Subnets (Private subnet) refer this link :-
https://bvakash.hashnode.dev/creating-vm-with-using-subnets-private-subnet
To continue with this lab you have to finish the previous lab.
Bastion host or in other words we can call a jump server, Basically we create a bastion host to securely access a server which is in a private network For example:- our database server which we keep in a private network.
A bastion host is used to prevent attackers to access the server.
It provides secure remote access within a private network.
Let's create it.
Step 1:- Write the following command in your webserver ssh to generate a public and private key.
Under googleuser you can give any name you wish or your console gmail name if you want. For example:- test
ssh-keygen -t rsa -f ssh-key -C [googleuser]
ssh-keygen command generates a new SSH key pair.
-t rsa: specifies that the key type to generate is RSA.
-f ssh-key: specifies the filename of the key pair to generate.
-C [googleuser]: adds a comment to the key pair that includes your Google Cloud user name.

Next command to list the keys type the following command
ls

To see what's inside the file we can use the following command
Here we have two keys private and public keys, we will open the public key which is ssh-key.pub

copy your key from ssh-rsa till your googleuser.
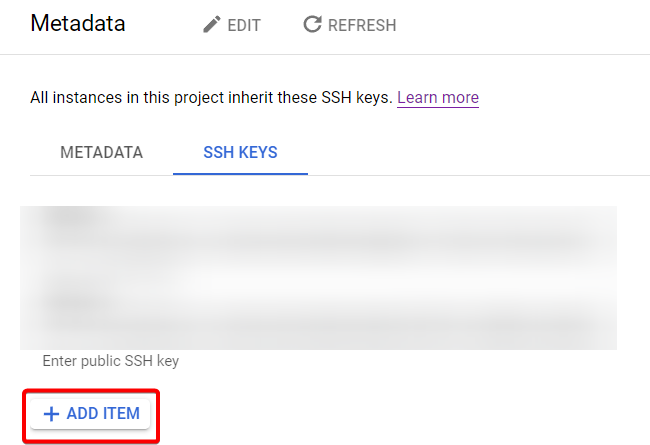
Step 2:- Now go to your console under compute Engine scroll it down until you see settings under that click on Metadata, go to SSH keys, Now click on Edit.

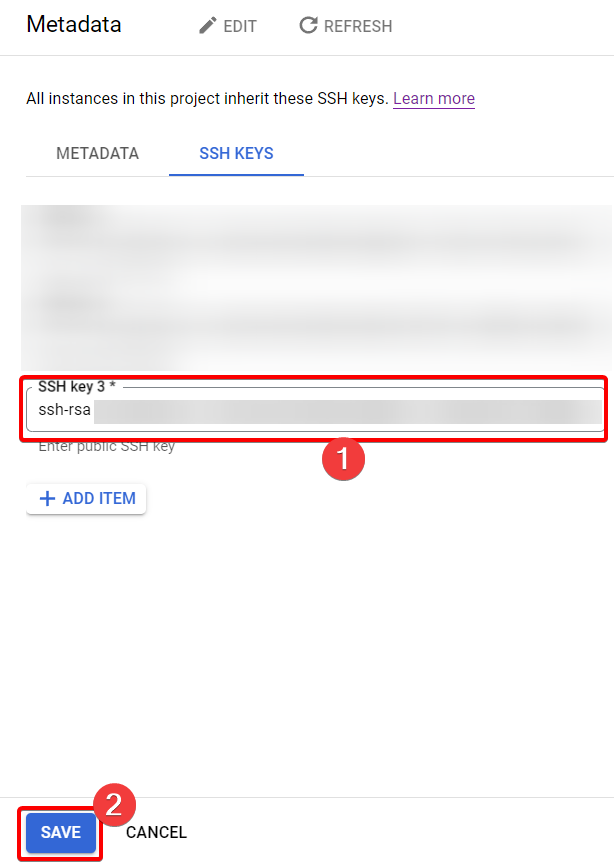
Step 3:- Click on Add item and add your SSH key which you have copied and click save.
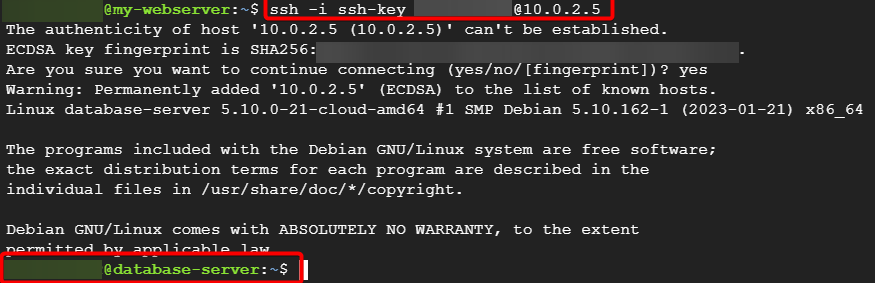
Step 4:- Now write the following command in your web server instance ssh, Once you type this command, you will ssh into your database server.
ssh -i ssh-key [googleuser]@<Internal IP>
The ssh command is used to connect to a remote machine using the SSH protocol.
-i ssh-key: specifies the private key file to use for authentication.
[googleuser]: specifies your Google Cloud user name.
<Internal IP>: specifies the internal IP address of the VM instance you want to connect to.
We successfully ssh into our database server from the web server.
Step 5:- Now, if you type ping google.com, you won't get any response because it doesn't have internet access.

Next inorder to give internet access we will go for NAT internet access which we talk in next blog.
That's it, for now, we will continue further more in next blog.
Hope you liked it. Will see you on the next topic 😃


